The crunch still has a loyal following. Rows of people on gym mats, pulling their heads towards their knees, convinced they are “working their core”.
Physiotherapists working with people in their 60s, 70s and 80s have quietly moved on. The new priority is not a flatter stomach, but something that decides whether you keep driving, shopping and living independently: your balance.
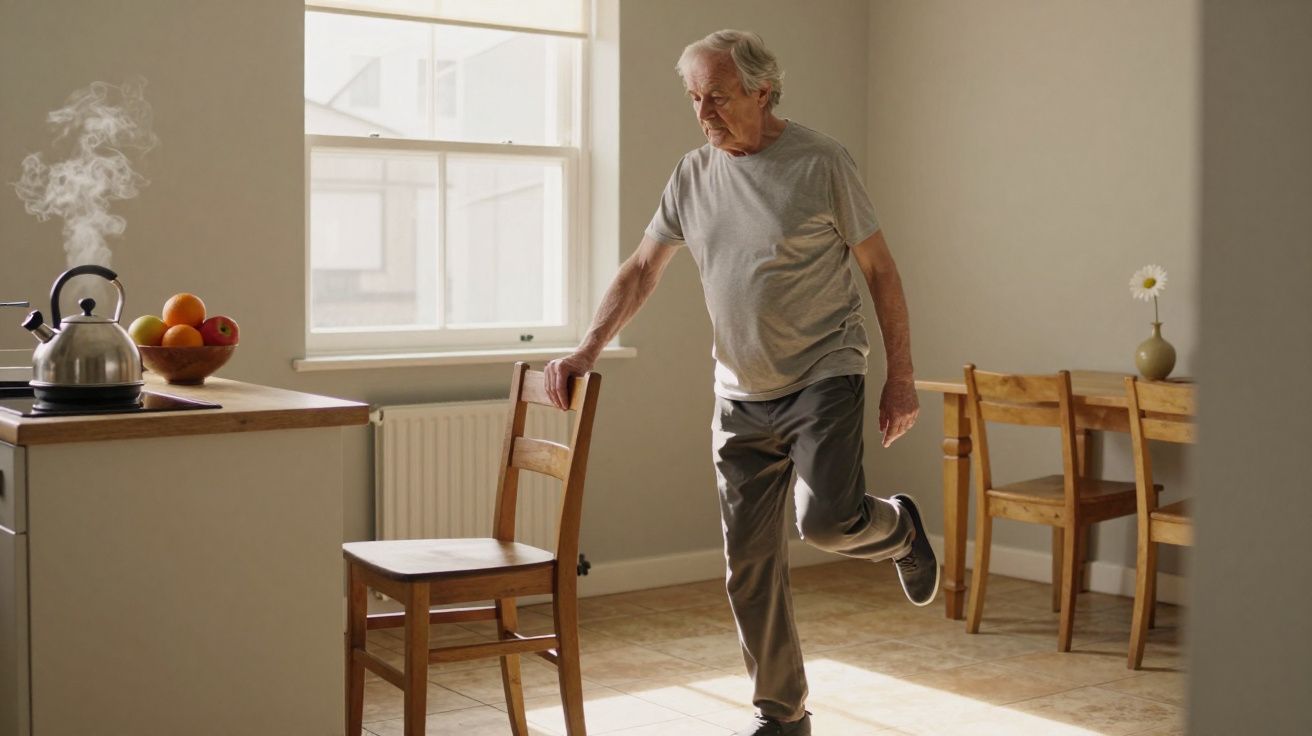
They are now teaching a short, focused morning drill you can do in less time than it takes the kettle to boil and cool. Seven minutes, bare feet or socks, one steady chair or kitchen worktop. No mat, no gear, no crunches.
The main goal after 60 is not a six‑pack; it is staying on your feet. Balance work trains the whole “anti‑fall” system in a way crunches never will.
Why balance beats crunches after 60
After 60, the biggest threat to your independence is not your waistline. It is a fall that breaks a wrist, a hip, or simply your confidence. Muscles, reaction speed and inner‑ear function all decline slowly with age; crunches barely touch any of that.
Crunches work a narrow slice of your abdominal muscles in a lying position. You do not live your life on your back. Standing balance drills train your feet, ankles, hips, trunk and brain to talk to each other while you are upright, which is when injuries happen.
Quite a few older backs and necks complain about repeated crunches. The forward pulling can irritate discs, strain the neck and reinforce a hunched posture. In contrast, gentle balance work encourages length, alignment and subtle strength, usually with less grumbling from joints.
Think function, not fashion. The muscles that stop you falling matter more than the ones that show in the mirror.
The 7‑minute drill physios are choosing over crunches
This routine is designed for mornings, when joints feel stiff and your brain is still booting up. It wakes your ankles, hips and trunk, and nudges your inner‑ear and visual systems to switch on together.
You do it standing, holding on as much as you need. A sturdy chair, kitchen counter or the back of a sofa makes it feel safe. You stay within a small “safe wobble” range: challenged, but not frightened.
What you need before you start
- A clear strip of floor about 2–3 metres long
- A solid support at hip height (kitchen worktop, heavy chair, banister)
- Comfortable clothing; bare feet or thin‑soled shoes
- Ideally, someone in the house aware you are practising if your balance is already poor
Skip the routine and speak to a doctor or physiotherapist first if you have had a recent fall with injury, unexplained dizziness, chest pain, sudden severe breathlessness, or a big change in your vision.
Step‑by‑step: the 7‑minute morning balance drill
You can use a timer on your phone, or simply count slow breaths (about six to eight per minute).
Wake‑up weight shifts – 1 minute
Stand facing your support, feet hip‑width apart, fingertips resting lightly. Slowly shift your weight to the right foot, then to the left, as if you are pouring sand from one leg to the other.
Feel the sole spread and the ankle respond each time. Breathe normally and keep your shoulders relaxed.Heel raises and toe raises – 1 minute
In the same position, lift both heels slowly so you rise onto your toes, pause, then lower with control. Aim for 10–12 gentle repetitions.
Then rock back on your heels to gently lift the front of your feet, holding the support more firmly. This wakes up the small muscles that stop trips on pavements and rugs.Single‑leg stands with support – 2 minutes (about 1 minute per leg)
Shift your weight onto your right leg and lightly rest your left toes on the floor like a kickstand. If that feels safe, float the left foot a few centimetres up.
Hold 10–20 seconds, then swap legs. Repeat two or three times each side. Keep tall through your spine, eyes on a fixed point ahead.Tandem walk along the worktop – 1 minute
Stand side‑on to your support. Place one foot directly in front of the other, heel touching toe, as if you are on a narrow beam. Use your fingertips or hand on the counter.
Take 8–10 slow, controlled steps, then turn carefully and come back. If full heel‑to‑toe is too much, leave a small gap between your feet.Sit‑to‑stand without hands – 1½ minutes
Position a sturdy chair behind you. Sit tall near the front of the seat, feet under your knees. Lean your chest slightly forwards and stand up using your legs, trying not to push with your hands.
Slowly lower back down with control. Aim for 8–10 repetitions. This directly trains the strength and balance you need to get up from chairs, toilets and car seats.Steady stance and ankle circles – ½ minute
Finish standing with feet together, lightly holding the support. Soften your knees, grow tall through the crown of your head and take four or five calm breaths, noticing any gentle sway.
Then, still holding on, lift one foot slightly and draw slow circles with the ankle, 5 each way, then swap. This “unlocks” stiffness and leaves your feet awake for the day.
If it feels too easy, you are probably ready to hold on less. If it feels frightening, you are pushing too far. Adjust the challenge, not your safety.
Quick timing guide
| Section | Time |
|---|---|
| Weight shifts | 1 minute |
| Heel & toe raises | 1 minute |
| Single‑leg stands | 2 minutes |
| Tandem walk | 1 minute |
| Sit‑to‑stand | 1½ minutes |
| Steady stance & ankle circles | ½ minute |
How this drill actually keeps you steadier
Balance is not one thing. It is a three‑way conversation between your eyes, your inner ears and the sensors in your muscles and joints. All of that information is pulled together by your brain in real time.
- Weight shifts and heel/toe work teach your ankles to respond earlier and more smoothly, which is vital when a bus jolts or a dog pulls on the lead.
- Single‑leg stands and tandem walking force your hips and trunk to do small, constant corrections, training the deep stabilisers in your pelvis and spine.
- Sit‑to‑stands link leg strength and control with balance, mimicking a real‑world task you do dozens of times a day.
Over time, these tiny, controlled wobbles teach your nervous system that small losses of balance are normal and fixable. That reduces the panicked “grab and stiffen” reaction that often leads to a bigger stumble or fall.
Physiotherapists have a quiet rule: you must practise being slightly off‑balance, safely, if you want to stay confidently on‑balance in life.
How to progress it safely over 4–6 weeks
You do not need to add more minutes straight away. Start by making the same 7 minutes slightly more demanding.
After 1–2 weeks of feeling steady:
- Use one finger instead of the whole hand on your support.
- Stand on a slightly softer surface, such as a folded towel, for weight shifts.
- During single‑leg stands, turn your head slowly left and right, or look up and down.
After 3–4 weeks:
- Try a few seconds of single‑leg stand with no hand support, staying ready to grab if needed.
- Make tandem walking a touch narrower, almost heel‑to‑toe if it is not already.
- Add a gentle eyes‑closed stance for 5–10 seconds, but only with both feet on the floor and your hand very close to the support.
If pain, spinning dizziness or strong nausea appear, stop immediately and check in with a professional. A mild, brief sense of effort or wobble is fine; pain or fright is not.
Common mistakes physiotherapists keep seeing
Plenty of people try balance work, then quietly give up because it feels awkward or ineffective. The same patterns crop up again and again.
- Holding your breath. This stiffens your trunk and actually makes you less adaptive. Aim for slow, easy breathing throughout.
- Locking the knees. Soft knees allow normal micro‑adjustments; rigid legs topple like sticks.
- Rushing the movements. Fast, jerky shifts train panic, not control. The slower you move, the more your system learns.
- Practising only on your “good” side. We all favour one leg. Ageing joints demand you train both.
- Keeping crunches and skipping balance. A strong abdomen is useful, but without ankle, hip and brain training, it will not stop a fall.
The habit that works is the one you can face every day. Seven quiet minutes before your first cup of tea is often far easier to keep than a big gym promise.
When this routine points to a bigger issue
Sometimes, this drill reveals limits you did not know you had. Losing your balance the moment you let go, feeling one leg give way, or being unable to stand from a chair without your hands can all be early warning signs.
In those cases, a tailored programme from a physiotherapist can make a significant difference. They may check your footwear, medication side‑effects, blood pressure drops when you stand, and the strength of key muscle groups.
Do not see that as failure. See it as catching the problem while you still have options.
FAQ:
- How often should I do this 7‑minute drill?
Daily is ideal, especially at first. Most physiotherapists suggest aiming for at least four to five mornings a week to see real change over a couple of months.- Can I do this if I have arthritis in my knees or hips?
In many cases, yes, because the movements are small and controlled. Keep the range comfortable, use plenty of support and stop if joint pain lingers beyond an hour. A physiotherapist can modify positions for you.- Is this enough, or do I still need walking and strength work?
This drill is one important piece, not the whole puzzle. Brisk walking, simple strength work (like squats and wall‑presses) and stretching all support better balance.- Should I give up crunches completely?
You do not have to, but after 60 they should move down your priority list. If you enjoy them and your back is happy, keep a few, but only after you have given your seven minutes to staying upright.


Comments
No comments yet. Be the first to comment!
Leave a Comment